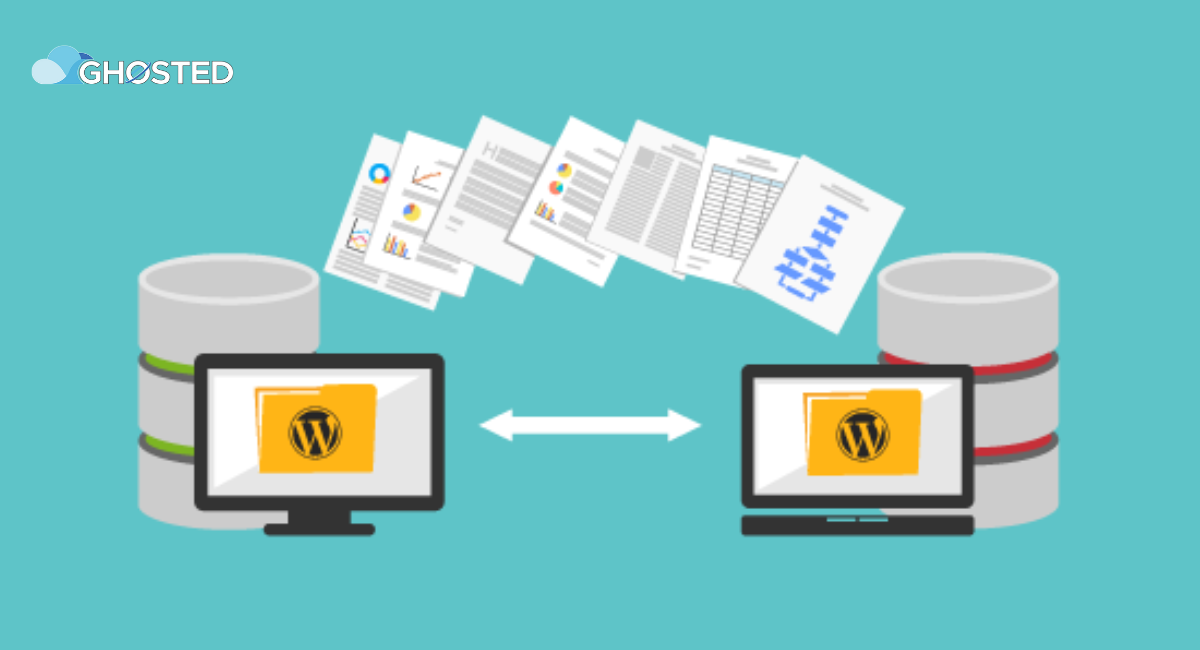
Migrating your website to a new hosting provider can seem like a daunting task. However, when it comes to reliable hosting, Ghosted is the perfect solution for your website. With a wide range of hosting packages, top-notch security features, and excellent customer support, Ghosted can help take your website to the next level. In this article, we will walk you through the steps to migrate your website to Ghosted with ease.
1: Choose the Right Ghosted Hosting Package
The first step to migrating your website to Ghosted is choosing the right hosting package. Ghosted offers a variety of hosting packages to fit your needs, from shared hosting to dedicated servers. Consider the size of your website, the amount of traffic it receives, and the resources it needs when choosing the appropriate hosting package.
2: Backup Your Website Files and Database
Before you migrate your website to Ghosted, it's essential to back up your website files and database. This step ensures that you have a copy of your website in case something goes wrong during the migration process. You can use your hosting provider's backup tools or plugins such as UpdraftPlus or BackupBuddy to backup your website.
3: Create a New Ghosted Hosting Account
Once you have chosen the right hosting package and backed up your website, it's time to create a new hosting account with Ghosted. Sign up for a new hosting account and select the appropriate hosting package that suits your needs. After signing up, you'll receive a confirmation email with details on how to access your new hosting account.
4: Upload Your Website Files and Database to Ghosted
Now that you have a new hosting account with Ghosted, it's time to upload your website files and database to the new server. You can use FTP clients like FileZilla or the cPanel File Manager to upload your website files. To upload your database, you'll need to access the phpMyAdmin tool in your Ghosted account and import your database file.
5: Update Your Website's DNS
After you have uploaded your website files and database to Ghosted, you'll need to update your website's DNS to point to the new server. You can do this by logging into your domain registrar account and updating the Nameservers to the ones provided by Ghosted.
6: Test Your Website on Ghosted
Once you have updated your DNS, wait for the changes to propagate, and then test your website on Ghosted. Check your website's functionality, make sure all pages and links are working correctly, and confirm that your website's performance is optimal.
7: Cancel Your Old Hosting Account
Finally, after testing your website on Ghosted, it's time to cancel your old hosting account. You can either do this by contacting your previous hosting provider's support team or through their self-service portal.
Conclusion
Migrating your website to a new hosting provider may seem overwhelming, but with the right tools and guidance, it can be a smooth and easy process. With Ghosted's reliable hosting services and exceptional customer support, migrating your website to Ghosted is the perfect solution for ensuring that your website is always up and running. Follow the steps outlined above, and you'll have your website migrated to Ghosted in no time.
Migrate Your Website to Ghosted for Reliable Hosting.....
The Importance of Reliable Hosting from Ghosted for Your E-commerce Business.......
